Showing posts with label tutorials. Show all posts

Wednesday, September 21, 2011

State Wall Art {Tutorial}

A good friend of mine recently moved 'home'. I wanted to do something for her and her husband that was meaningful so I created this wall art for them.


How to make your own state wall art?
I used my Silhouette, which made it easy to cut out the states and stars but you don't have to own a Silhouette to make this project.

Simply find the state(s) clipart online and print them out.
Trace and cut them out of scrapbook paper.
I layered the states with two colors to help the state stand out a little bit from the stripped background.
Add stars for the cities where you've lived, where your kids were born, etc.
For a little dimension I added the foam dots {I'm sure there is a more technical name for this item but that escapes me} to raise the stars.

Have fun!


Tuesday, July 12, 2011

Placemat Pillows Tutorial

This tutorial is SUPER easy. So easy that while I was making my placemat pillows I forgot to take pictures of the process. In three easy steps you can be the proud owner of adorable pillow(s) for a fraction of the price.

Supplies
Placemat(s) that have two layers of fabric
Stuffing {I found a bag that was enough for two pillows of poly stuffing at Walmart for around $3.50.}
Seam ripper
Needle and Thread {that matches your placemat}

Step one: Using the seam ripper to make a small hole {large enough to fit your hand in it} on one side of the placemat

Step two: Stuff the placemat with your stuffing or poly fill

Step three: Using your needle and thread re-sew the hole you created.

Enjoy! See I told you it was super easy.

I'm linking this post up at Tip Junkie. Stop by and see all of the other fun projects people are doing.
Tip Junkie handmade projects


****************************************
 
Also, don't forget to 'like' Collide Studio on facebook for 15% off at my Etsy store OR get 20% off if you 'like' Collide Studio on facebook AND publicly follow my blog. Just send me a message after you do one or both and I'll give you your discount code. This offer ends July 15 but you can use your discount code until the end of August!

Thursday, July 7, 2011

Make Your Own Word Flash Cards

My sister LOVES her flash cards {loves like she goes through the flash cards every day, several times} but as we were going through them the other night I realized she knows ALL of the words. Time for some new words I thought. So we grabbed some paint swatches, a permanent marker and I went on this website {Time for Learning} to find her some new words. The nice part is that the lists are divided up by grade level.

Super easy flash cards for literally no cost...and she is learning new words every day now!

Friday, June 10, 2011

Candy Graduation Hats Tutorial

As you are probably well aware my lil sister is having her graduation party tomorrow. I saw these cute candy graduation hats somewhere on the web {I'm so sorry that I can't remember where and give credit where credit is due} and just had to make them. All in all, they were pretty easy to make.

Supplies
White Frosting {I used Wilton's White Decorating Frosting}
Die {I did my sister's school colors, blue and red. Wilton sells die in many colors.}
Disposable Decorating Bags
Candy Sticks
Reeses Miniature Peanut Butter Cups {I suggest freezing these for 10-30 minutes before you start.}
Chocolate Candy Bars {The goal is to have a square shape fit on top of your Reeses. I also was all about saving money and I found that the Walmart brand Great Value Milk Chocolate Candy Bars did the trick.}
Gummy Candy {For the tassels. I found mine at Party City.}

Before You Begin:
  • Make your decorating bags: Add your frosting into the bag. Cut a small hole at the tip of your bag. You do not need a decorating tip for this project.
  • Cut your Gummy Candy into small strips for the tassel. I also had to put a bend into the candy before applying it to the hat, otherwise it was too stiff.

Step 1: Poke the candy stick into the top {larger side} of the Reeses Peanut Butter Cup.
{Hint: A few of mine were a little loose. All I did was add some frosting into the hole.}

Step 2: Add frosting to the top of the Reeses Peanut Butter Cup.

Step 3: Lay/press your chocolate square on top of the frosting.

Step 4: Make a dot in the center of your hat and draw a line off the dot with your frosting.

Step 5: Add your tassel. The line of frosting will secure it in place.


Enjoy!


Thursday, May 12, 2011

Subway Art - Beach Rules Tutorial

I love the beach and I wanted a theme for the babies room that is neutral and fun. I always see this great subway art but I wanted to make my own. After this process, I give a ton of credit to companies like Barn Owl Primitives. These signs are TOTALLY worth the money.

This has been a love/hate, test my patience project. I'm not sure I'm happy with the end product. I may repaint the board blue and print white vinyl to lay on top of it for a cleaner look. It's a relatively easy process, it just takes time. So don't be scared.


I used my Silhoutte to make the vinyl but there are plenty of sites online where you can purchase vinyl to use.

So...if I didn't scare you away yet, this is how you can make your own subway art.

Supplies
Board {I got mine at Michaels with a 40% off coupon! The size was 12"x24".}
White Paint {You can use spray paint or acrylic paint}
Paint in the color you want the main part of your board {I bought a quart, which is more than you'll need, and had it colored at Walmart}
Sponge paint brush
Vinyl lettering
Needle & Transfer paper {if you print the vinyl letters yourself}
Patience!


Paint your board white. {Sorry about the picture. I don't know what happened.} This took several coats of spray paint.

Layout your text using the Silhouette software or purchase your vinyl. Get creative. I made my first page the actual size of the board. Keep in mind that the Silhouette prints 9" wide.

Open new pages and split your text into sections. This makes it easier to use the transfer paper and to lay the text on the board.

Print your text on your vinyl.

Carefully peel off the excess vinyl {the vinyl that is surrounding your letters}.

As you can see the inside of letters was left behind. The easiest way that I've found to grab that excess vinyl is to use a needle.

Place the transfer paper, sticky side down on letters, onto your vinyl letters.

Layout the text to make sure you have enough room.

Place the vinyl onto the board and press down. You may need to go over each letter to make sure it sticks. Gently remove the transfer paper. I suggest doing this one letter at a time. I found that a credit card helped to lay the letters and a pin was great to reposition letters that were being fussy.

Paint over the letters.

After the entire board is painted {including the sides}, let it dry.

Remove the vinyl letters.
As you can see the letters are not as clear as it was with just the vinyl. If you want a clean look paint your board and place the letters on top. If you want a distressed look, like this, follow my process.

I took my NEW handy dandy electric sander and roughed up the edges and main part of the board.


I think it's growing on me. I may keep it as is. There are a few areas where I didn't know what I was doing with that new sander that I may repaint because it left weird marks.

Have fun!

Join a link party! This project was linked up on:
 Making
The Girl Creative

Tip Junkie handmade projects

Thursday, May 5, 2011

A Little Addition to a Plain Vase Tutorial

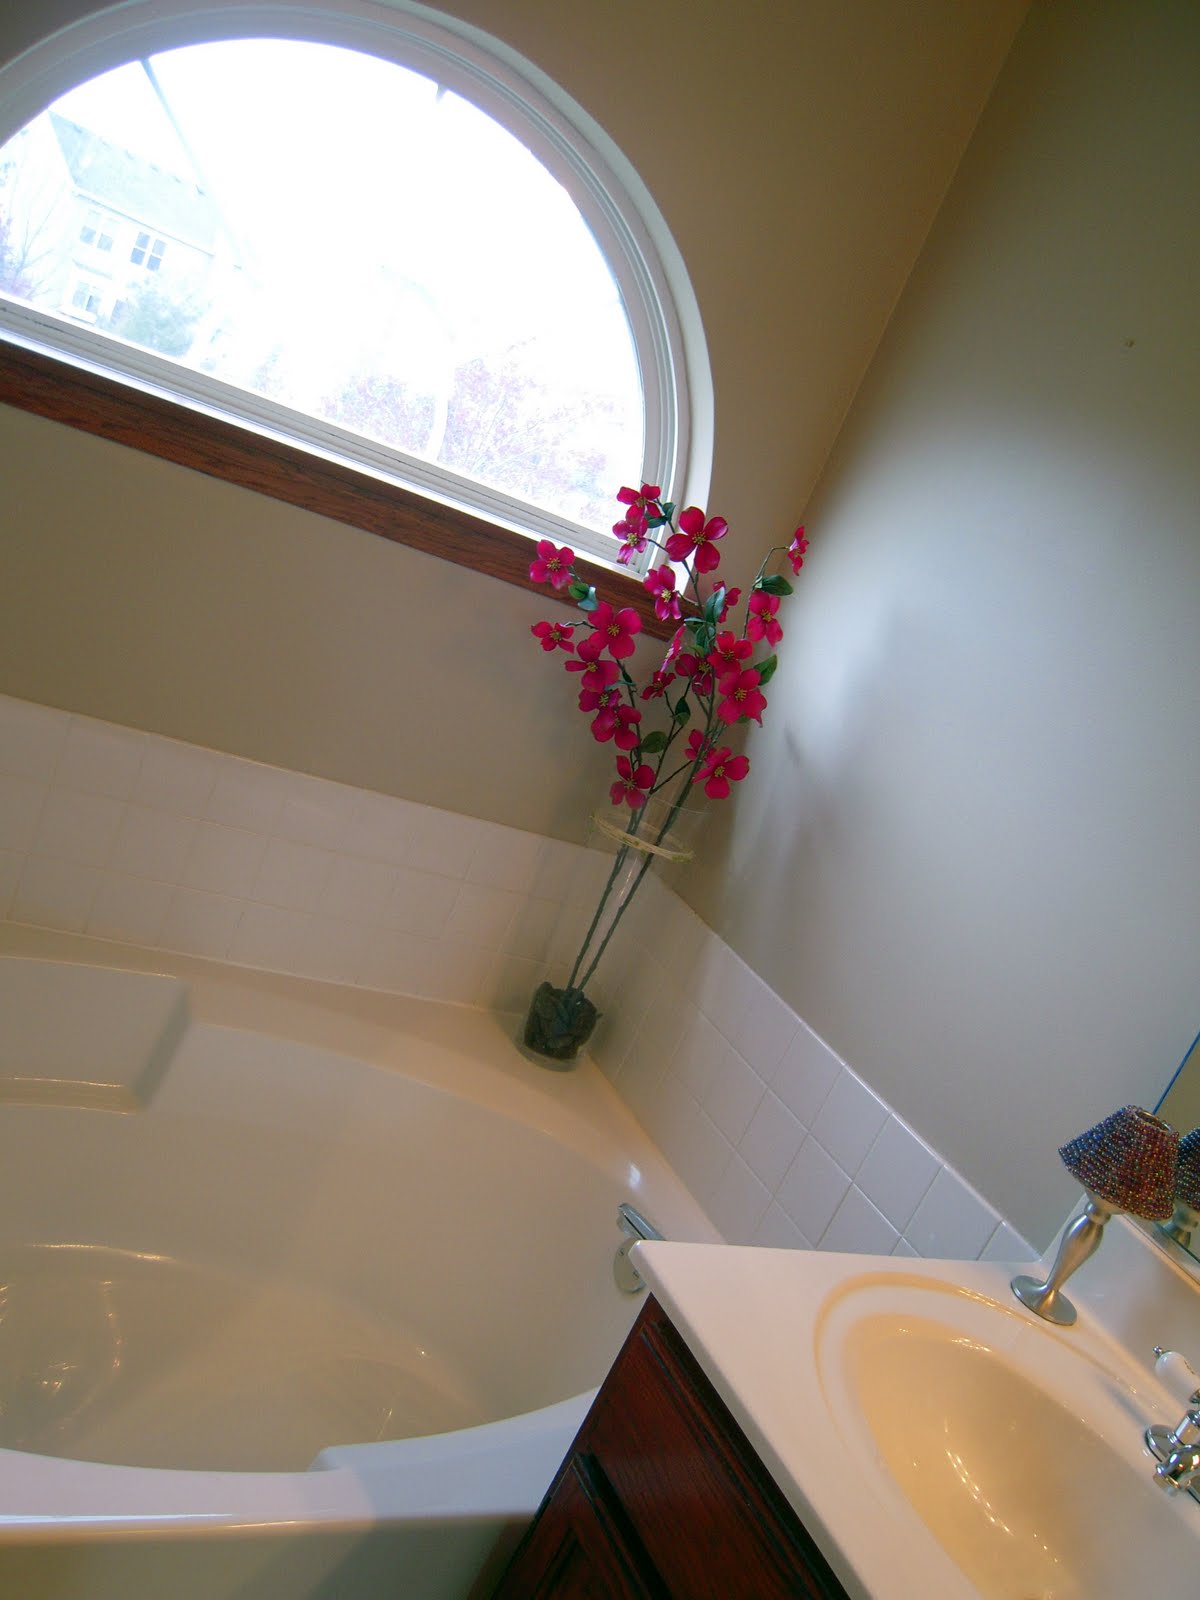
Our master bath is just about the only room that we have not touched or painted since we moved in five years ago. The soaking tub {aka dust collector} is blah. See...

So, a few months ago I got this great deal on a vase from Marshall's {I think I paid only $7.50 for it}. FYI: You get what you pay for. When I tried to pick up the vase after I finished this tutorial I cracked the top of it.

I wanted to add a little more to the plain vase. So with some rocks, bright flowers, twine and beads I dressed up the vase. Here's how you can dress up your vase quickly and easily.

Supplies
Vase
Flowers
Rocks
Thread {white}
Twine
Beads
Scissors
Hot Glue Gun


Step 1: String your beads on the thread. Space them a few inches from each other.
Hint: I did two strips of thread so it didn't get all twisted together.
The twine was too thick to string through the bead, which is why I had to use thread.

This is what my beads looked like on the thread when I was finished.

Step 2: Tie your thread with the beads to your twine. I cut the twine a little longer than the thread because I wanted more twine to wrap around the vase.


Step 3: Let the thread with beads twist around the twine. This will hold it in place better. Tie the other end of the thread and twine together.

Step 4: Add a small dab of hot glue to the back of the vase and start to wrap your twine around the vase.

Step 5: Add your rocks and flowers.


A little color in a plain bathroom.


Don't forget to get your Pampered Chef orders in by Sunday, May 8 and Help Whip Cancer!


Friday, April 22, 2011

Rabbit Hole Cupcakes Tutorial

Today I put some of my limited cake decorating skills to use making Rabbit Hole Cupcakes {or as I keep calling them, rabbit butt cupcakes, but I guess that doesn't sound very appealing}. Per the picture in my Hello, Cupcake! book {I have the one with the dogs on the cover} the end product should look something like this:


To start you will need:
Cupcakes {about 24}
Frosting {I made my own buttercream frosting (recipe below) but you can also buy frosting. You'll need about two cans.}
1/2 cup cookie crumbs {like oreos}
Green and yellow food coloring
Flower candy decors
Assorted malted milk eggs and jelly beans
8 white circus peanuts {I could only find orange so I covered them in white chocolate.}
4 black jelly beans
24 brown chocolate covered sunflower seeds {I didn't want to pay $5 for a bag at Michael's so I made my own. I suggest using a 40% off coupon and get the bag at Michael's.}
4 mini marshmallows
Light corn syrup
White nonpareils

Step 1: Frost four cupcakes and dip into your cookie crumbs {Hint: After I dipped the cupcake in the crumbs I didn't like how much white was showing through (hence why they say to use chocolate frosting, but I was too lazy to make another batch of frosting) so I just used my fingers and patted more cookie crumbs onto the top of the cupcakes.


Step 2: Keep a small portion (about 2 tablespoons) of your white frosting for later. Take the remaining frosting and divide it into two bowls. Add green food coloring to one bowl and add green and yellow food coloring to the other bowl. That way you will have two shades of green frosting, a darker green and a bright green.

Step 3: Put the Multi-Opening Decorating Tip 233 (Wilton) into your decorating bag. Fill one side of the bag with your dark green frosting. Fill the other side of the bag with your bright green frosting. Using this tip you can easily make grass. Start on the outside of your cupcake and work you way in. Here is a good tutorial on making grass.

Multi-Opening Decorating Tip 233
This is what the two-toned frosting will look like in the decorating bag.
Work from the outside of the cupcake in. As you can see each section of grass does not have to be perfect.
Step 4: Make the rabbit feet. Cut the circus peanut in half length wise. You'll only use the bottom/flat half. Cut four black jelly beans in half.

Take a little frosting and add the jelly bean to each food and three chocolate covered sunflower seeds {see picture below}

Add a little white frosting to the bottom of each foot and gently push onto your cupcake. Make the feet hang over the side of the cupcake a little bit.

Step 5: Make the rabbit tail. Roll the four mini marshmallows in light corn syrup and then sprinkle and roll in white nonpareils. Add a little white frosting to the bottom of the tail and gently push onto your cupcake {see photo above}

Step 6: Decorate the rest of your grass frosted cupcakes with the flower candy decors and assorted malted milk eggs and/or jelly beans.


We are all packed up and ready for our Easter get-together tomorrow.


Buttercream Frosting Recipe

1/2 cup butter
1/2 cup shortening
1 teaspoon vanilla
1lb powered sugar {approximately 4 cups}, sifted
2 tablespoons milk {or water}

Make about 3 cups of frosting.

In large bowl, cream shortening and butter with electric mixer {I used my stand mixer with the paddle attachment so that there aren't too many air bubbles in the frosting}. Add vanilla. Gradually add powdered sugar, about one cup at a time. When all the sugar has been mixed in the frosting it will appear dry. Add milk and beat at medium speed until light and fluffy. Keep bowl covered until ready to use. Refrigerate when not in use in an airtight container. Re-whip before using. Enjoy!